Deploy a virtual Cisco CSR Router with IOS
This article will show you how to deploy a virtual Cisco CSR1000v inside the VMware vSphere environment. After the Deployment, I will show you how to do the basic configuration in order to use it together with NSX-T (or to build your own network topology using Cisco CSR Routers).
The high-level steps
Below you will find the high-level steps on how to deploy and configure a virtual Cisco CSR Router.
- STEP 1) Download the CSR OVA installation file from the Cisco website
- STEP 2) Deploy the CSR OVA (either through the ESXi host or vCenter Server)
- STEP 3) Manually boot to the CSR image
- STEP 4) Perform initial configuration through the console
- STEP 5) Connect through SSH to the virtual Nexus Switch
STEP 1) Download the CSR OVA installation file from the Cisco website
First make sure you downloaded the proper files from the Cisco website.
In this example, I am using the following files for the deployment of my Virtual CSR.
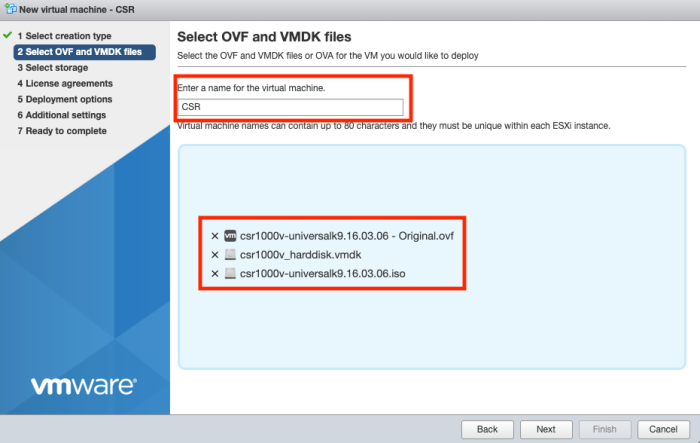
- csr1000v-universalk9.16.03.06 - Original.ovf
- csr1000v_harddisk.vmdk
- csr1000v-universalk9.16.03.06.iso
STEP 2) Deploy the CSR OVA (either through the ESXi host or vCenter Server)
I doing this deployment straight from an ESXi host, but the process on the vCenter Server will not be much different.
First right click Virtual Machines and select "Create/Register VM".
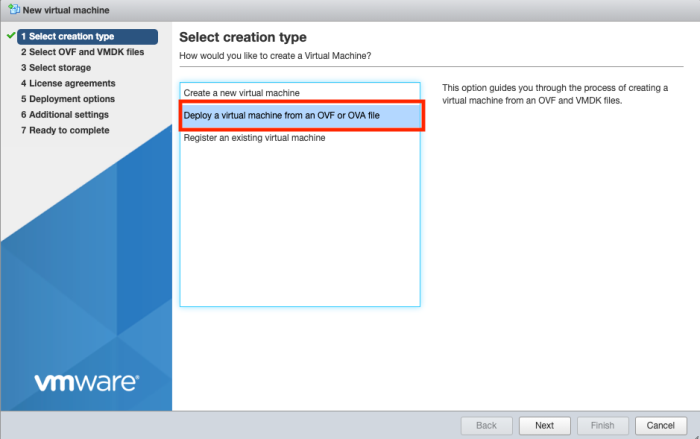
Make sure you select "Deploy a virtual machine from an OVA or OVF file".
Provide a name for the Virtual Machine.
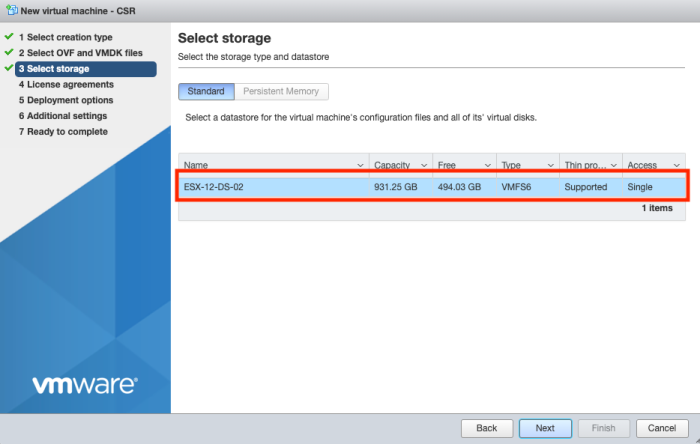
Make sure you select a proper storage resource.
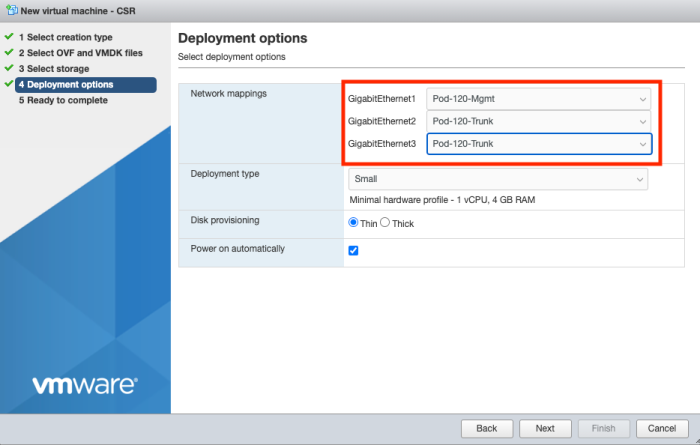
Configure the network interfaces as required. Make sure the first interface is the management interface and the other interfaces can be configured how you want. I am planning to use VLAN ID interfaces so that's why I am connecting them all to a trunk Port Group.
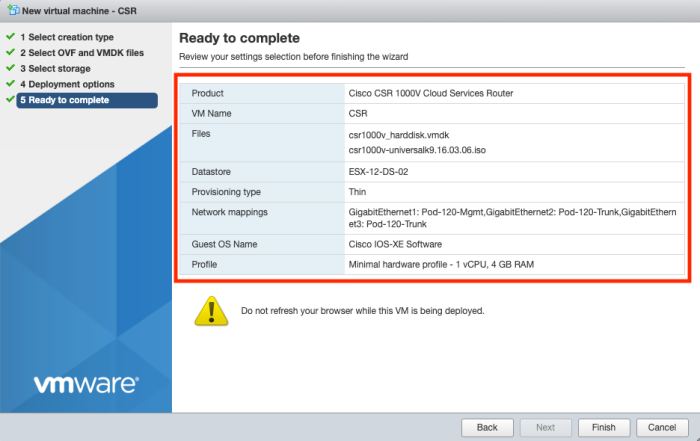
Verify the details in the summary before you start the deploy.
The deploy has started.
STEP 3) Manually boot to the CSR image
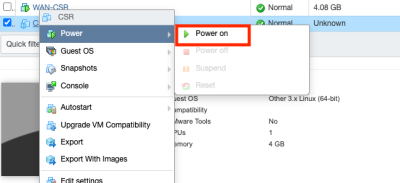
Power on the Virtual Machine.
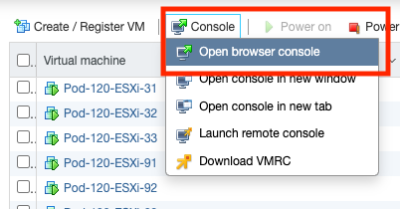
Open the console of the Virtual Machine.
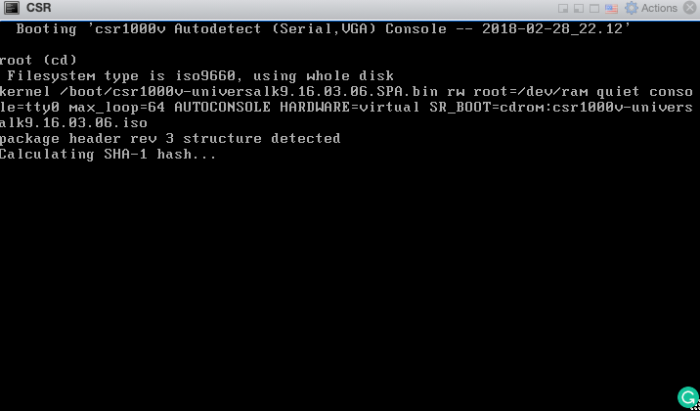
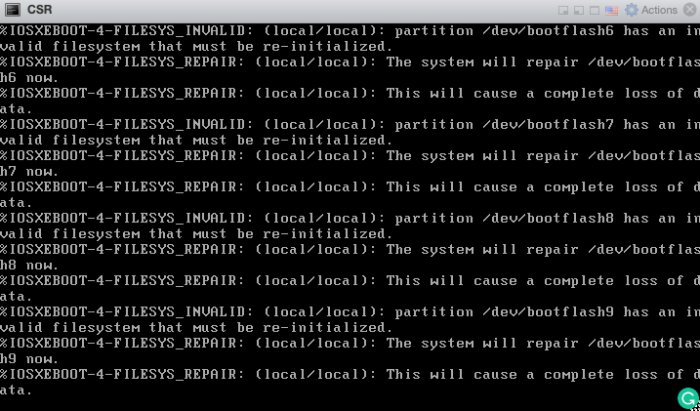
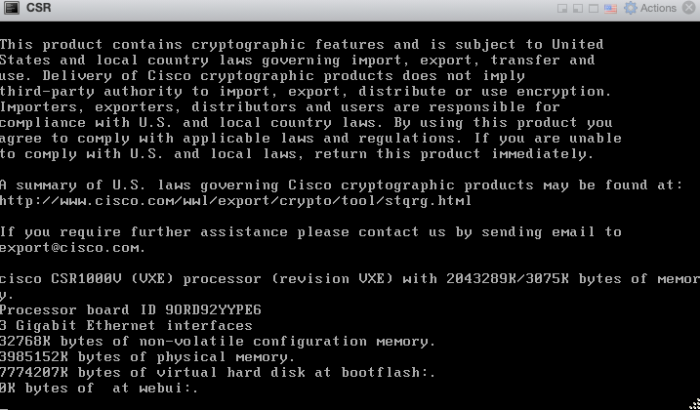
The OS will start to boot...
And continue to boot...
And continue to boot...
And continue to boot...
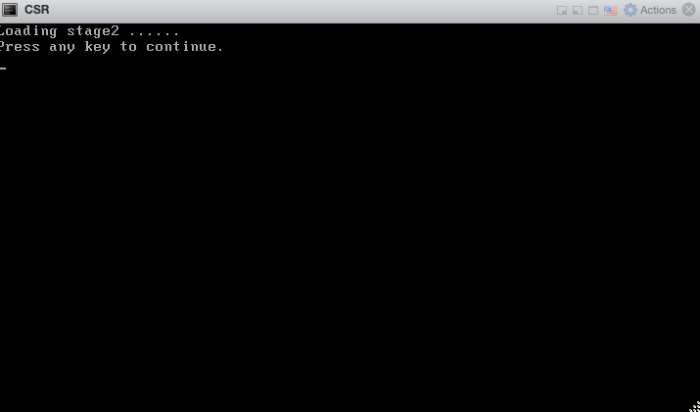
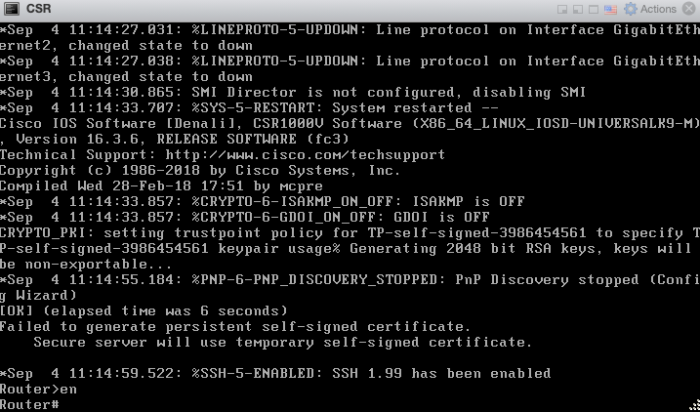
By the end of the booting process, you will see a screen similar to the figure below.
STEP 4) Perform initial configuration through the console
When you boot the virtual CSR for the first time you will be presented with the following question:
--- System Configuration Dialog ---

Would you like to enter the initial configuration dialog? [yes/no]:no
type "no" en then type "enable" to start the initial configuration.
When you are in "enable mode" you can use the commands below for the initial configuration of the hostname, the management IP address and to make the CSR reachable through SSH.
!
configure terminal
!
hostname WAN-CSR
!
uername admin privilidge 15 secret VMware1!
!
interface GigabitEthernet1
ip address 10.1.0.181 255.255.0.0
no shut
!
ip route 0.0.0.0 0.0.0.0 10.1.0.1
!
line vty 0 4
transport input ssh
login local
!
end
root # copy run start
STEP 5) Connect through SSH to the virtual Nexus Switch
It is good practice to reboot the Virtual Machine (CSR) with the "reboot command". When you boot the CSR next time you will be presented with a screen displayed in the figure below. It does not matter what option you choose here.
YouTube Video
Comming soon
Technical Reviews
This article was technically reviewed by the following SME's:
| Name | LinkedIn Profile |
|---|---|
| TBD | TBD |
| TBD | TBD |
I am always trying to improve the quality of my articles so if you see any errors, mistakes in this article or you have suggestions for improvement, please contact me and I will fix this.

