Deploying the first NSX-T Manager Node: Difference between revisions
(Import pages from nsx.ninja) |
m (→top: clean up) |
||
| Line 1: | Line 1: | ||
This article will show you how to deploy your first NSX-T Manager node. | This article will show you how to deploy your first NSX-T Manager node. | ||
Revision as of 19:14, 13 January 2024
This article will show you how to deploy your first NSX-T Manager node.
The high-level steps
Below you will find the high-level steps on how to deploy your first NSX-T Manager node.
- STEP 1) Download the NSX-T Manager OVA installation file from the VMware website
- STEP 2) Deploy the NSX-T Manager OVA (either through the ESXi host or vCenter Server)
- STEP 3) Log in to the NSX-T Manager Node
The deployment of the second and third NSX-T Nodes (form an NSX-T Manager Cluster) is explained here.
STEP 1) Download the NSX-T Manager OVA installation file from the VMware website
First, you need to download the NSX-T Manager OVA installation file from the VMware website.
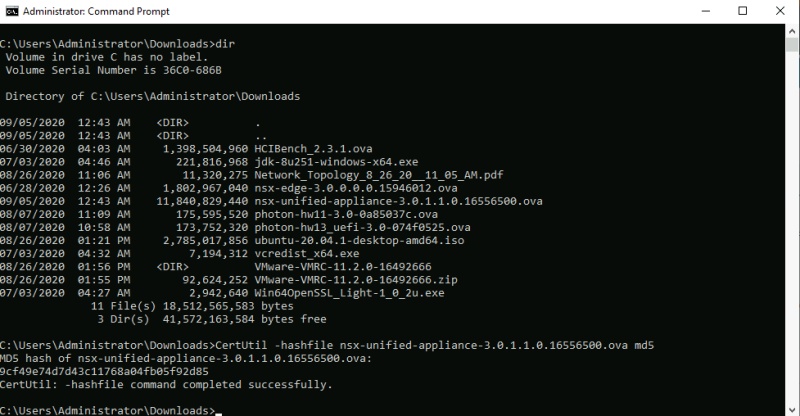
When the file is downloaded you need to verify if the file has the correct MD5 hash (and is not a corrupt download)
Below I have placed a snippet of the command Command window as you have seen on the picture above.
C:\Users\Administrator\Downloads>dir
 Volume in drive C has no label.
 Volume Serial Number is 36C0-686B

 Directory of C:\Users\Administrator\Downloads

09/05/2020  12:43 AM    <DIR>          .
09/05/2020  12:43 AM    <DIR>          ..
06/30/2020  04:03 AM     1,398,504,960 HCIBench_2.3.1.ova
07/03/2020  04:46 AM       221,816,968 jdk-8u251-windows-x64.exe
08/26/2020  11:06 AM        11,320,275 Network_Topology_8_26_20__11_05_AM.pdf
06/28/2020  12:26 AM     1,802,967,040 nsx-edge-3.0.0.0.0.15946012.ova
09/05/2020  12:43 AM    11,840,829,440 nsx-unified-appliance-3.0.1.1.0.16556500.ova
08/07/2020  11:09 AM       175,595,520 photon-hw11-3.0-0a85037c.ova
08/07/2020  10:58 AM       173,752,320 photon-hw13_uefi-3.0-074f0525.ova
08/26/2020  01:21 PM     2,785,017,856 ubuntu-20.04.1-desktop-amd64.iso
07/03/2020  04:32 AM         7,194,312 vcredist_x64.exe
08/26/2020  01:56 PM    <DIR>          VMware-VMRC-11.2.0-16492666
08/26/2020  01:55 PM        92,624,252 VMware-VMRC-11.2.0-16492666.zip
07/03/2020  04:27 AM         2,942,640 Win64OpenSSL_Light-1_0_2u.exe
              11 File(s) 18,512,565,583 bytes
               3 Dir(s)  41,572,163,584 bytes free

C:\Users\Administrator\Downloads>CertUtil -hashfile nsx-unified-appliance-3.0.1.1.0.16556500.ova md5
MD5 hash of nsx-unified-appliance-3.0.1.1.0.16556500.ova:
9cf49e74d7d43c11768a04fb05f92d85
CertUtil: -hashfile command completed successfully.

C:\Users\Administrator\Downloads>
STEP 2) Deploy the NSX-T Manager OVA (either through the ESXi host or vCenter Server)
I doing this deployment straight from an ESXi host, but the process on the vCenter Server will not be much different.
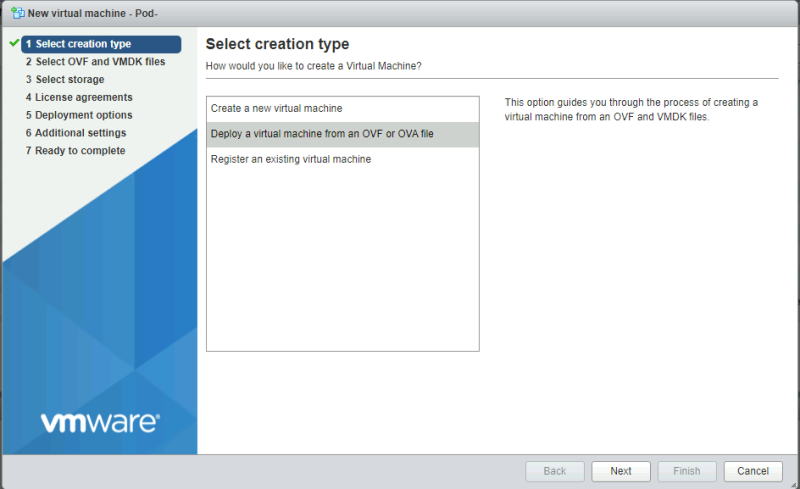
First right click Virtual Machines and select "Create/Register VM".
Select "Deploy a virtual machine from an OVA or OVF file".
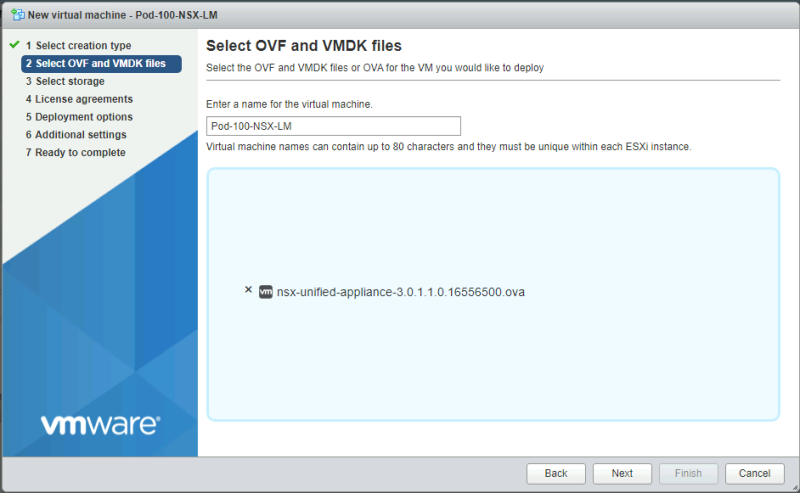
Provide a name for the Virtual Machine.
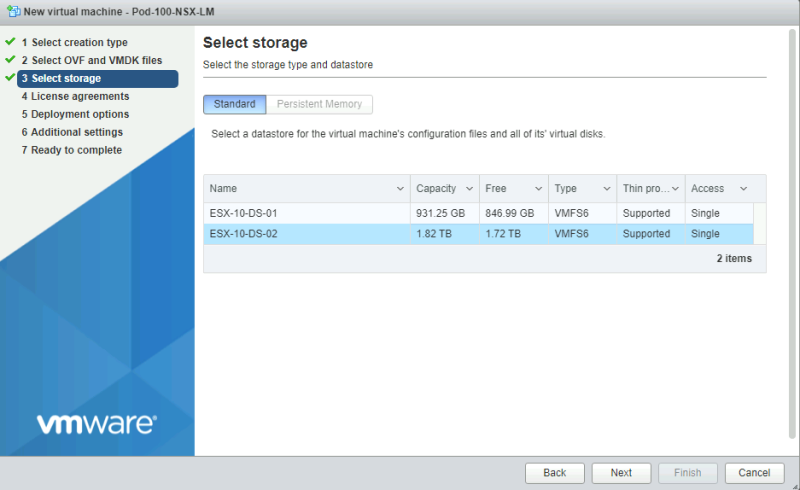
Select a proper storage resource.
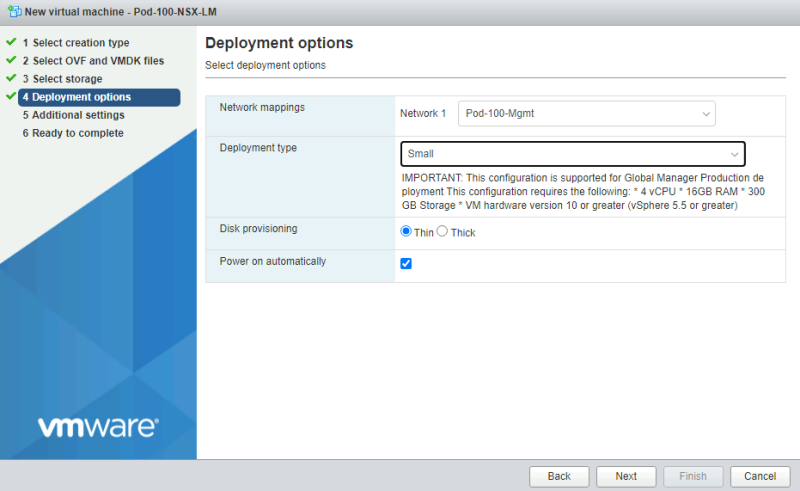
Configure the network interfaces as required.
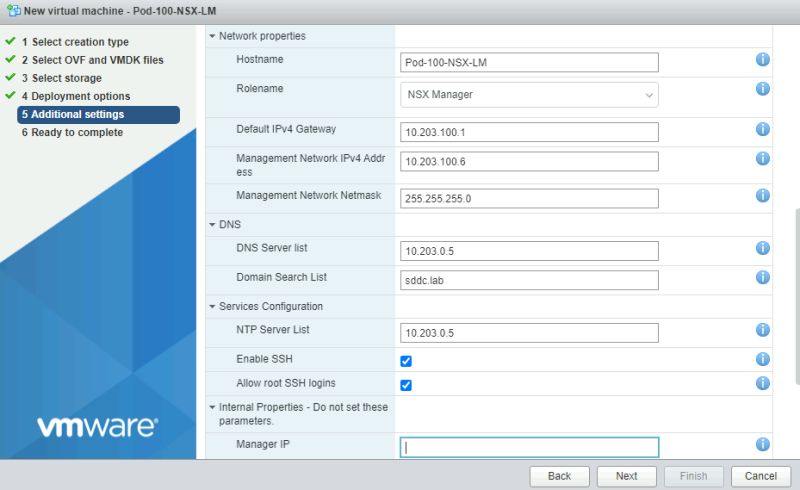
Now it's time to specify some configuration details. I have specified the following details below:
| Configurable Item | Parameter |
|---|---|
| Root User Password | VMware1!VMware1! |
| Admin User | VMware1!VMware1! |
| Audit User Password | VMware1!VMware1! |
| Hostname | Pod-100-NSX-LM |
| Rolename | NSX Manager |
| Default IPv4 Gateway | 10.203.100.1 |
| Management Network IPv4 Address | 10.203.100.6 |
| Management Network Netmask | 255.255.255.0 |
| DNS Server List | 10.203.0.5 |
| Domain Search List | sddc.lab |
| NTP Server List | 10.203.0.5 |
| Enable SSH | Yes |
| Allow root SSH Logins | Yes |
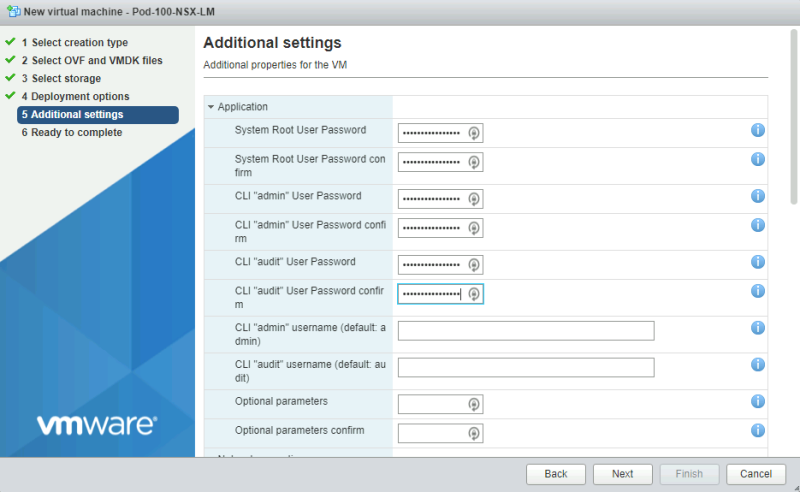
Type in the passwords.
Type in the NSX-T Network details.
Verify the details in the summary before you start the deploy.
Verify if the deployment has started or in progress.
Verify the deployment is finished.
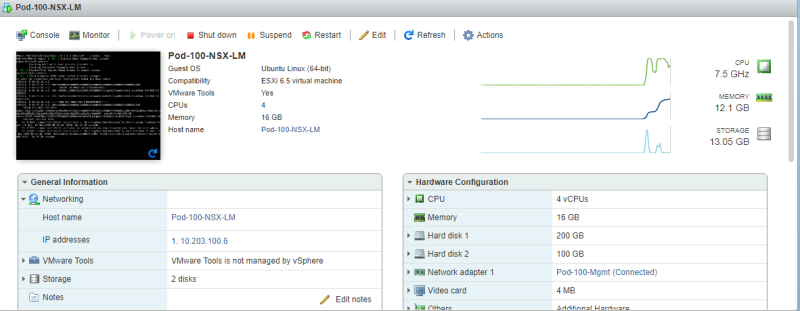
Verify if the VM is powered on properly.
Open a console window to see if you can do console related tasks.
STEP 3) Log in to the NSX-T Manager Node
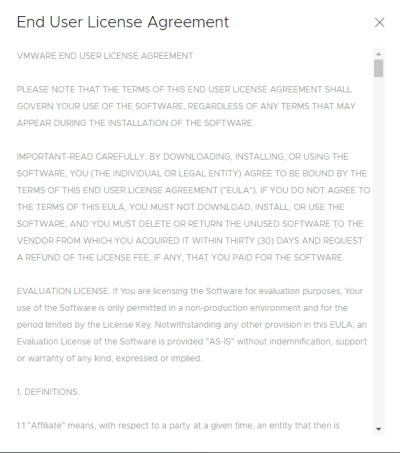
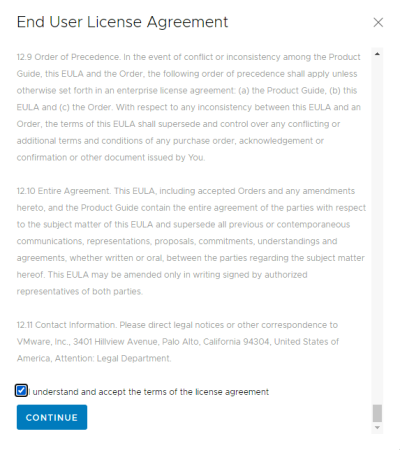
The first time you log in to the NSX-T Manager node you will be presented with an End User License Agreement.
Make sure you accept before you can continue and actually use NSX-T.
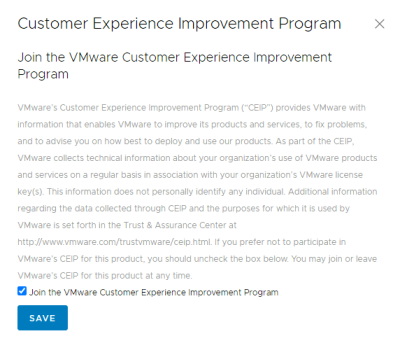
The second question is if you want to join the "Customer Experience Program". Check the box if you want to and uncheck it if you don't want to.
And now you are logged in!
YouTube Video
Comming soon
Technical Reviews
This article was technically reviewed by the following SME's:
| Name | LinkedIn Profile |
|---|---|
| TBD | TBD |
| TBD | TBD |
I am always trying to improve the quality of my articles so if you see any errors, mistakes in this article or you have suggestions for improvement, please contact me and I will fix this.

