Build an NSX-T 2.4.0 Manager-Controller cluster
This article will show the installation of a 3-node NSX-T cluster with the configuration of the VIP address.
The Installation Steps
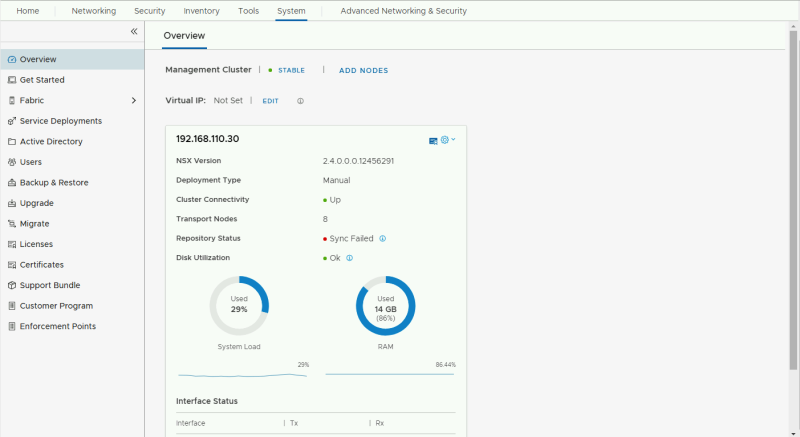
Here you see that there is only one node active:
We are going to build a 3-node cluster from this.
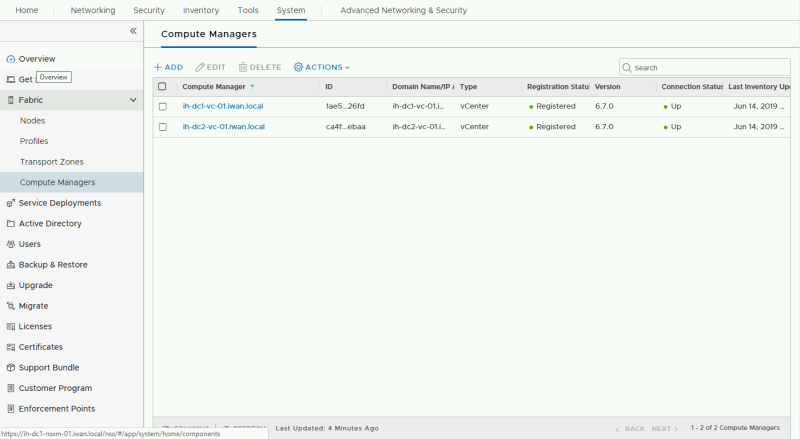
In my lab environment, I have two computer managers (vCenter Server endpoints) configured one for DC1 and another one for DC2.
As the existing node is already running on DC1 we will use the DC1 compute manager for the deployment of the other two nodes.
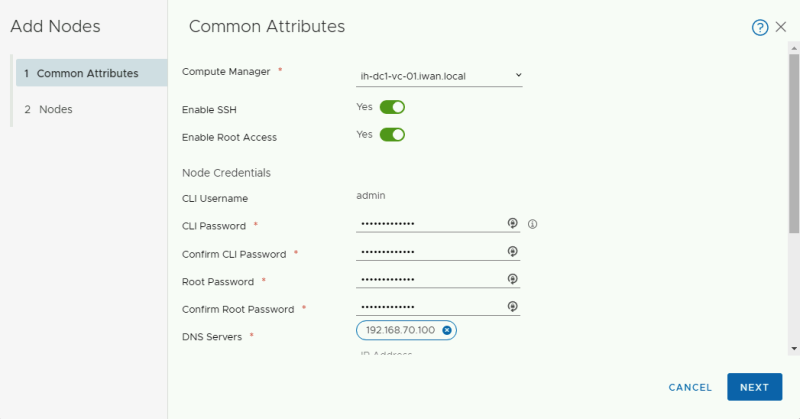
Let's add another the nodes clicking on the "Add Nodes" Button.
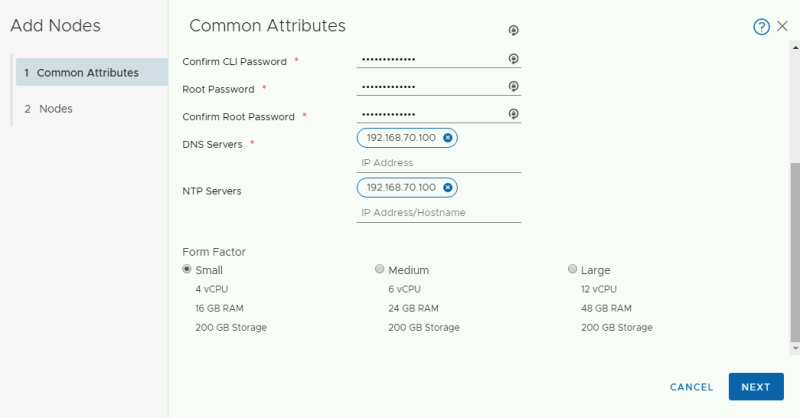
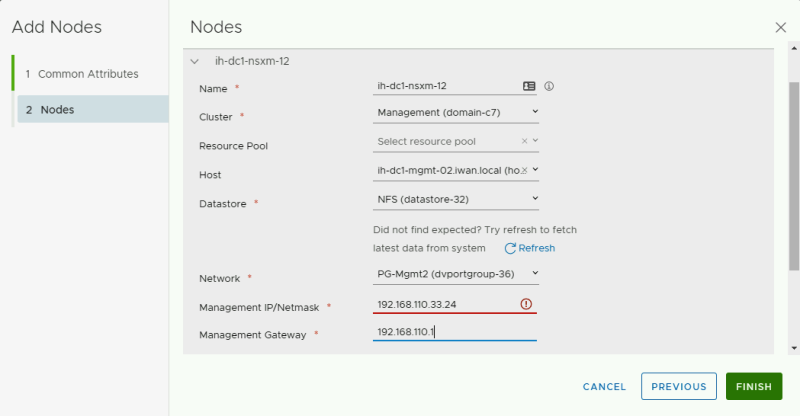
And here I add in the required parameters to do the actual deployment of the first node:
In the screenshot above I have made a mistake that was corrected later. The IP address of the management needs to have a /24 at the end instead of the .24.
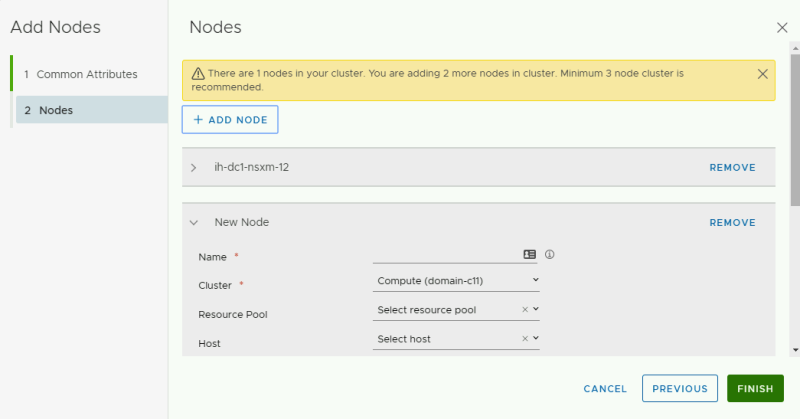
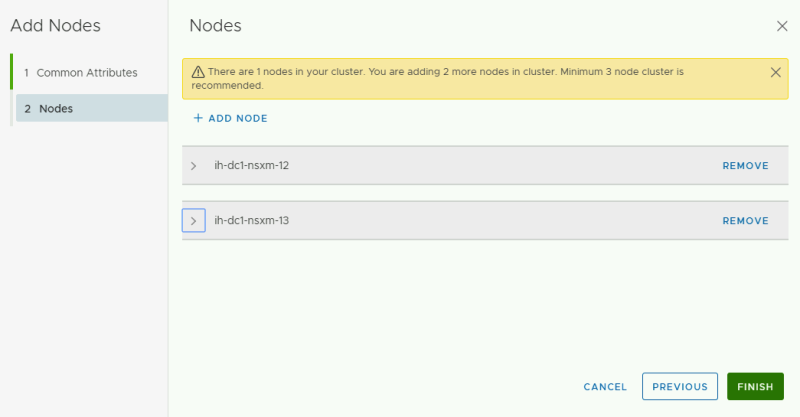
After the details of the second node have been added you can collapse the configuration details of this second node and click on "Add Node".
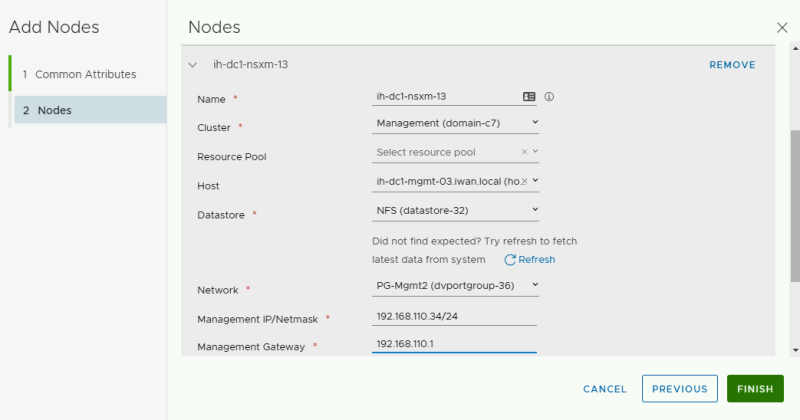
Now you can put in the configuration details of the third node as well.
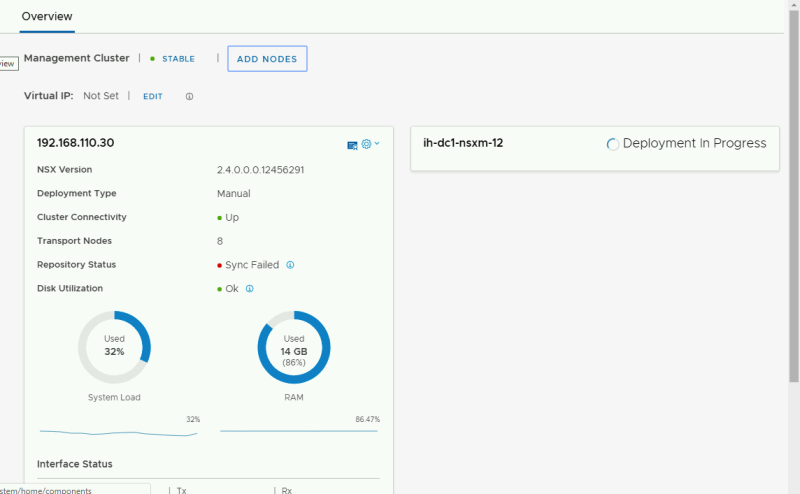
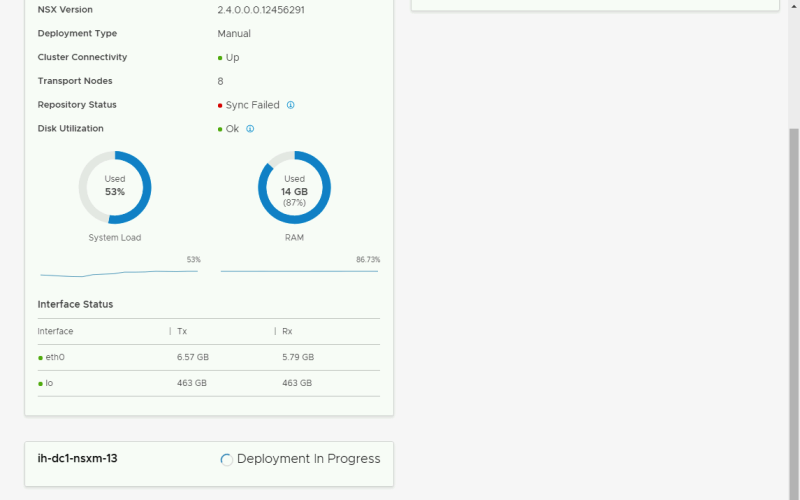
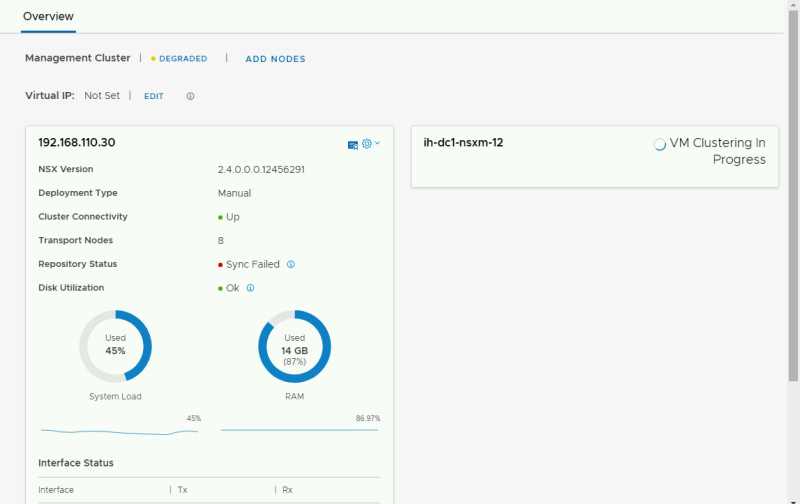
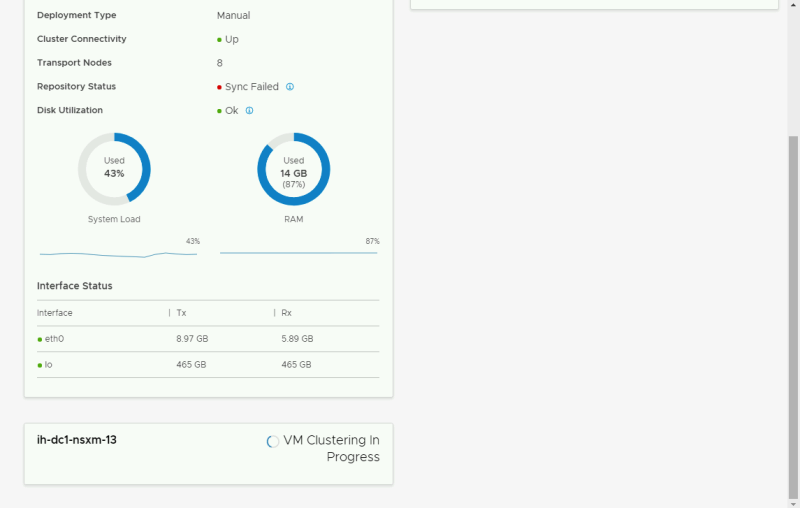
Now we see that the nodes are deploying with the different "phases" of deployment.
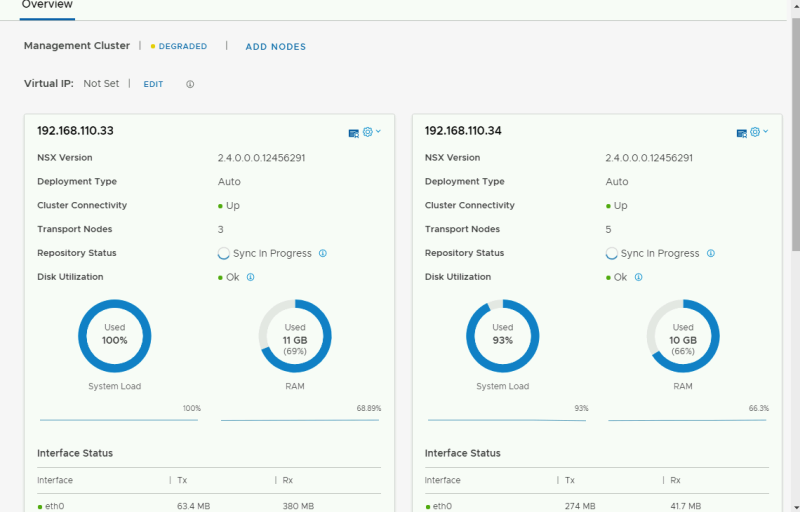
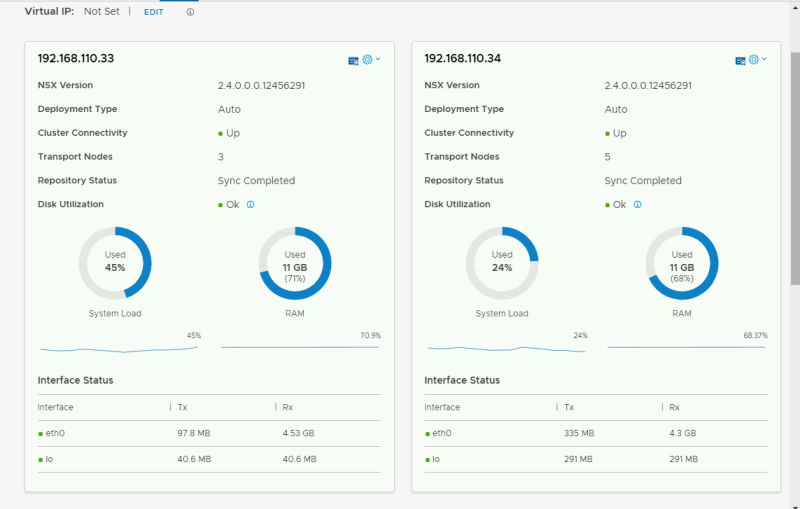
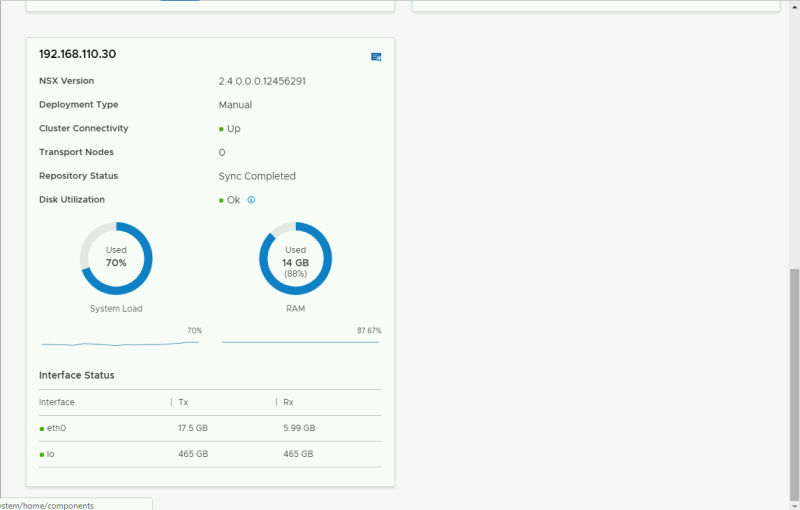
When everything is deployed you can see that the cluster is build but with before it is completed the "Sync in Progress" needs to finish first.
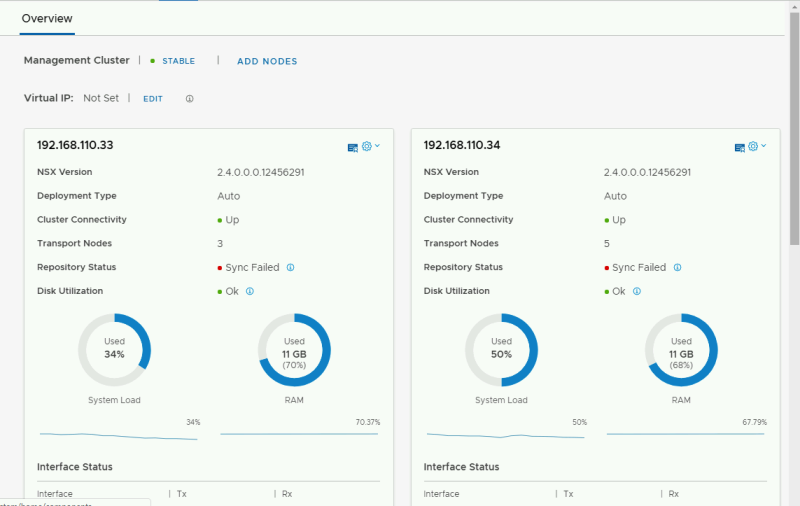
In my lab, I did get a "Sync Failed" for whatever reason...
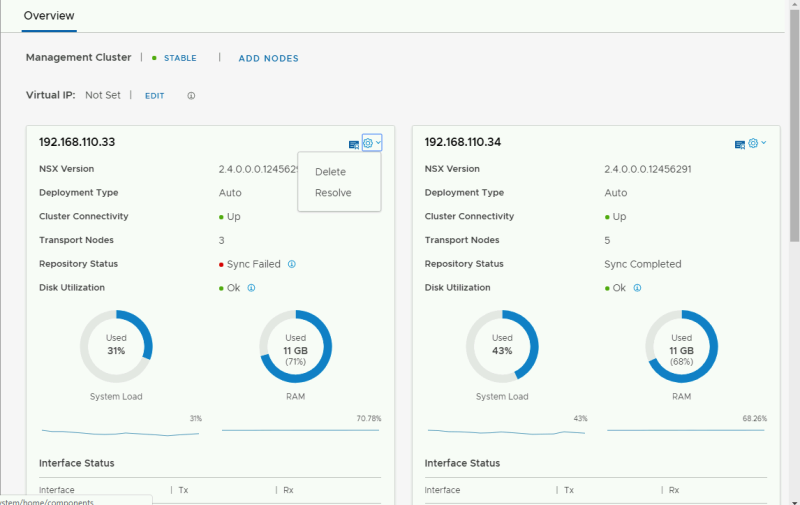
I did a "resolve" on each of the failed nodes hoping it would resolve.
And it solved my sync problem:
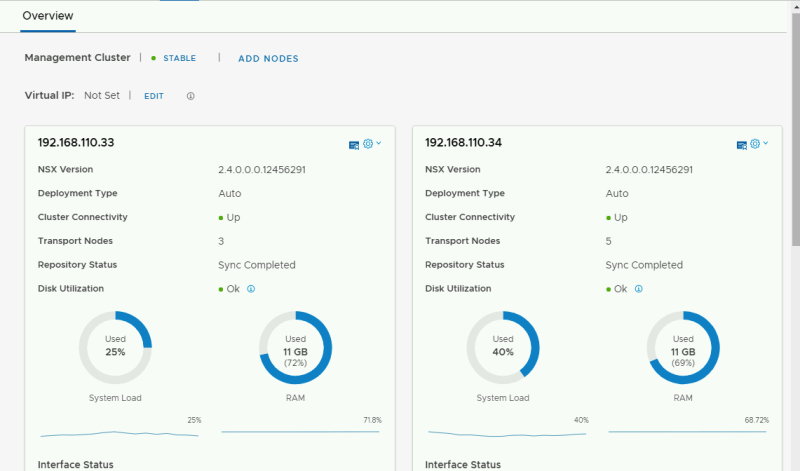
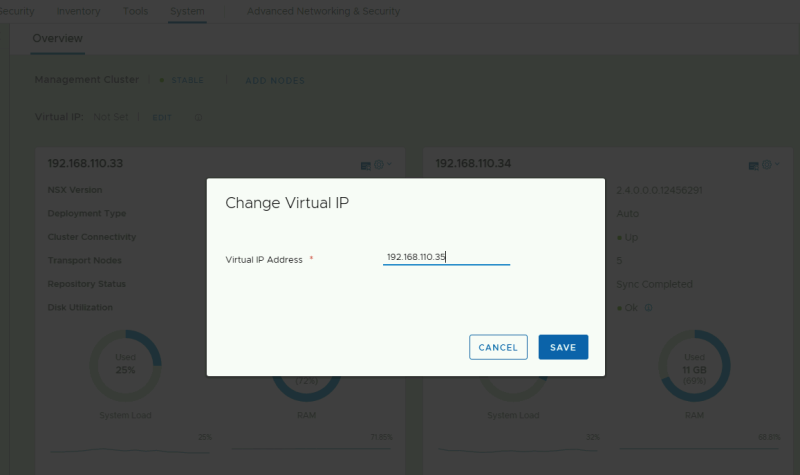
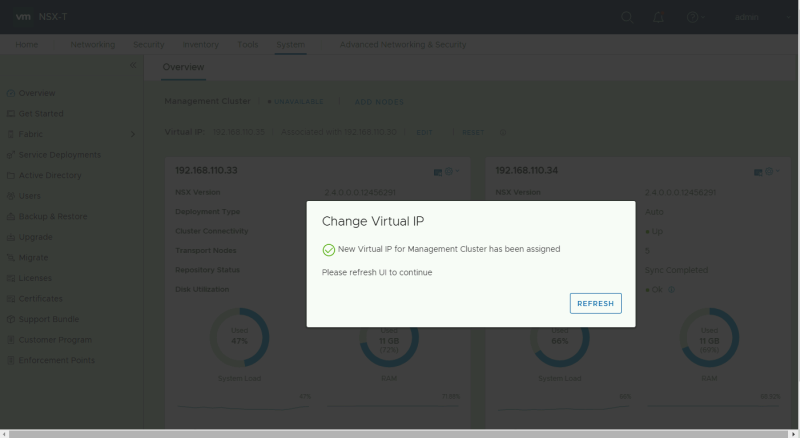
Now we can see here that the virtual IP is not set and we need to click on "Edit" to set it.
Before I did this I first created a DNS record for this VIP address in my DNS server.
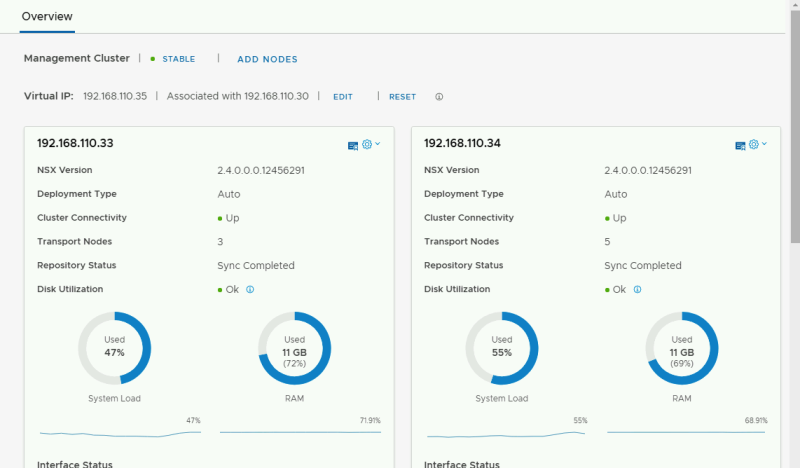
And we can verify this in the startup screen where you can see a Virtual IP now configured.
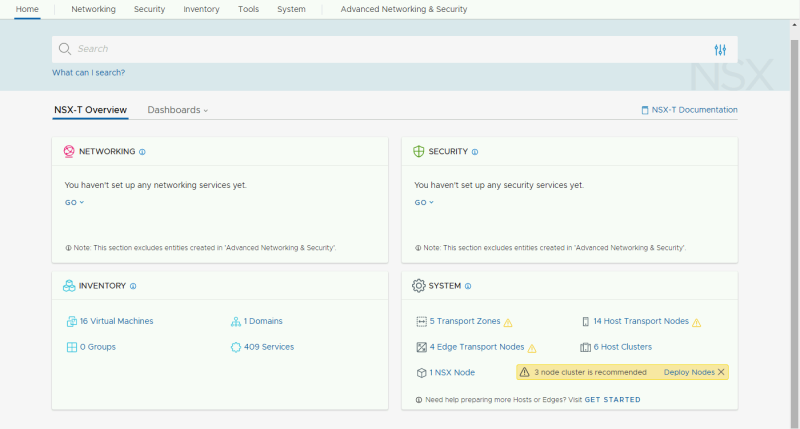
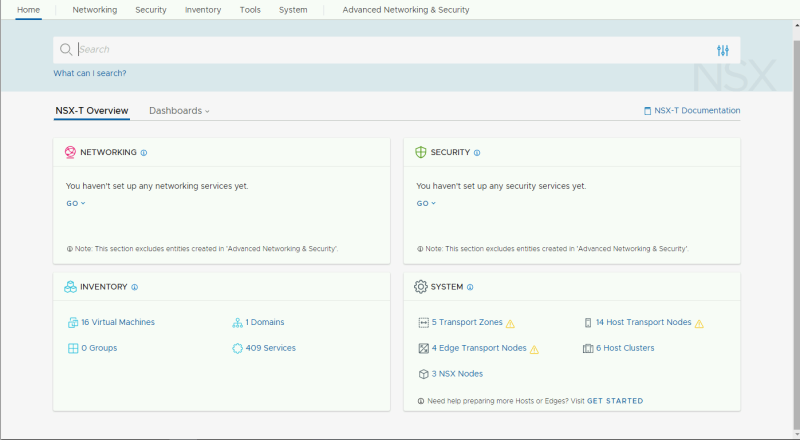
When we go back to the "Home" screen we can see that we have 3 nodes in our cluster now.
